Ever look at your trusty ride and think, “It needs… something more”? Maybe the paint is fading under the strong Thai sun, or perhaps you’re just craving a fresh look without breaking the bank. You’ve seen those stunning wrapped cars cruising around Bangkok, Chiang Mai, or Phuket, gleaming with unique colours and finishes. The idea of transforming your own car sparks excitement, especially the thought of doing it yourself – the ultimate personal touch! But then reality hits: professional wraps can be expensive, and the fear of messing up a DIY job, wasting money on cheap materials that peel or fade quickly, is real. You want that head-turning change, that satisfaction of “I did this!”, but you’re on a tight budget and terrified of ending up with a bubbly, patchy disaster. How can you achieve a cool new look for your car affordably, without falling into common beginner traps?
Meet Somchai: A Budget DIY Wrap Success Story
Let’s talk about Somchai, a young office worker in Nonthaburi. He loves his reliable 10-year-old Toyota Vios, but its original silver paint had seen better days – dull, scratched, and frankly, a bit boring. Getting a professional respray was way out of his budget (easily 30,000 THB+), and even pro wraps seemed steep (often starting around 20,000 THB). Scrolling online, he stumbled upon DIY car wrapping. Intrigued but cautious, he devoured tutorials and forums. His goal: a stylish matte grey finish for under 8,000 THB, including materials and basic tools.
Somchai started small. He ordered a few meters of budget-friendly, air-release vinyl online from a local Thai supplier known for decent entry-level options. He didn’t splurge on the most expensive brands but looked for positive reviews regarding ease of use for beginners. His initial toolkit was basic: a felt-edge squeegee, a sharp craft knife (with lots of spare blades!), a heat gun (borrowed from a friend), isopropyl alcohol for cleaning, and microfiber cloths. His first attempt? Wrapping his wing mirrors. It wasn’t perfect. He encountered bubbles, struggled with the curves, and learned the hard way about overstretching the vinyl. But crucially, he *learned*. He understood the importance of meticulous cleaning, patient squeegeeing, and using heat effectively (not too much, not too little!).
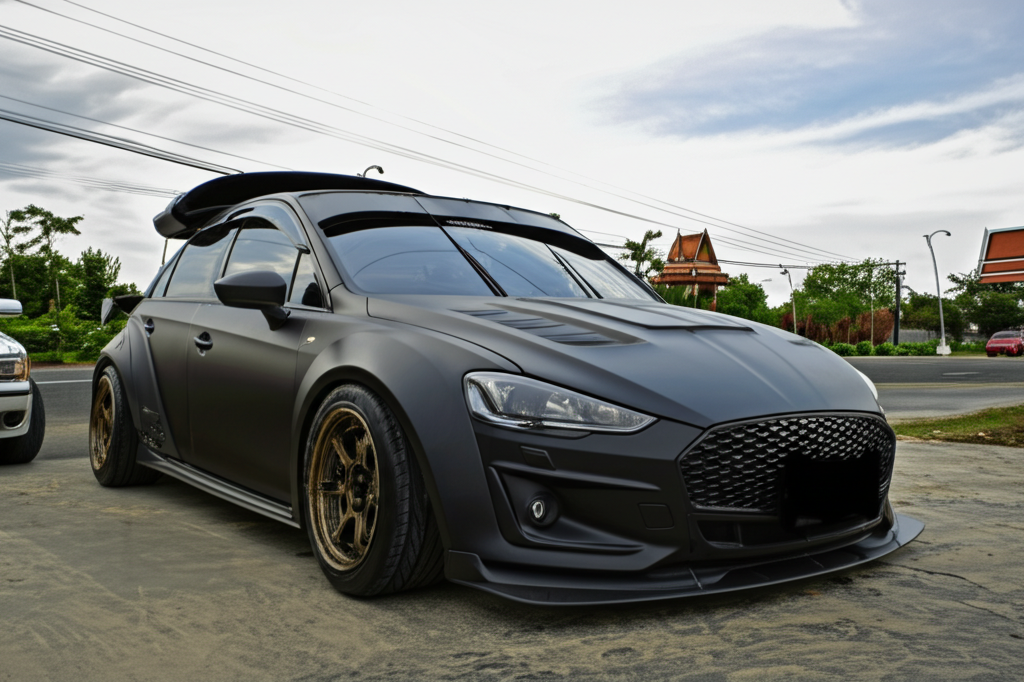
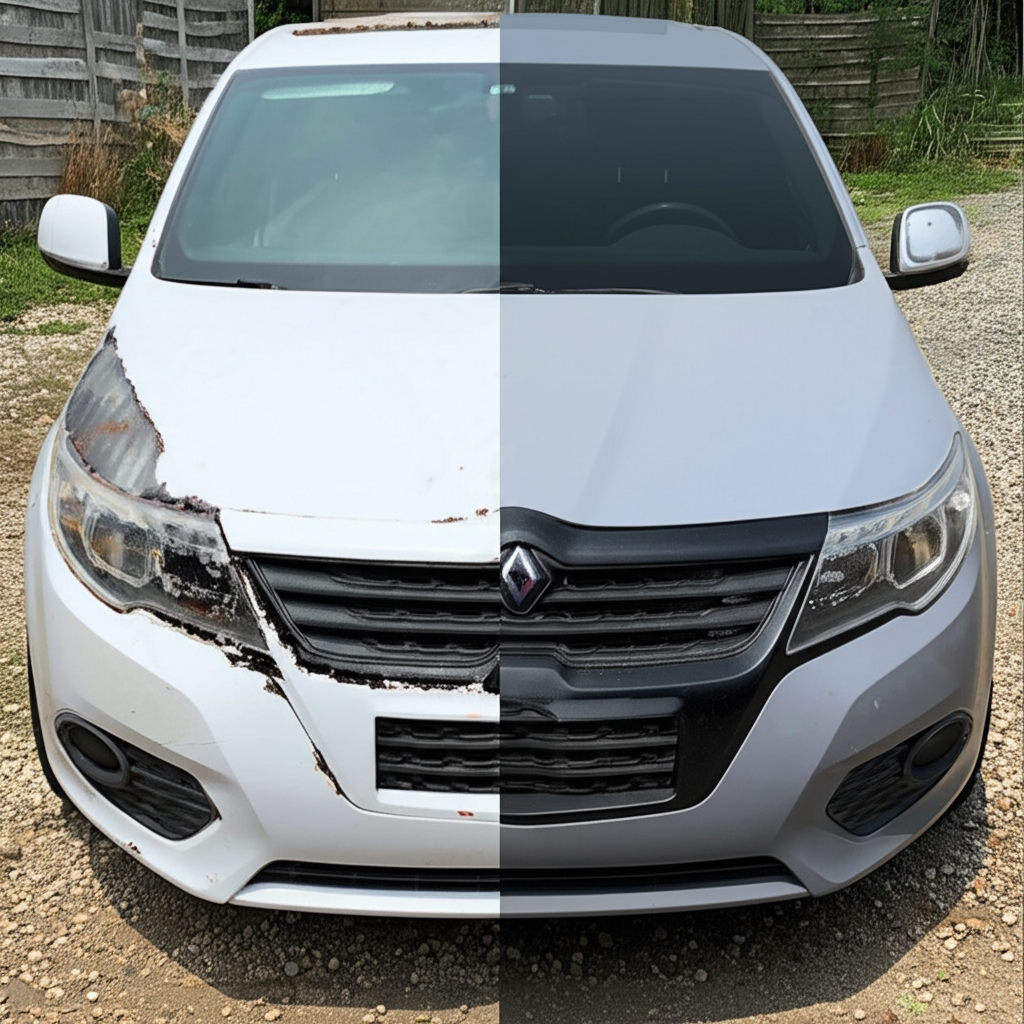
Feeling slightly more confident, he tackled the bonnet – a large, relatively flat surface. It took him an entire Saturday afternoon, working slowly in his shaded carport (never wrap in direct Thai sunlight!). He measured carefully, laid the vinyl using the “hinge method” he saw online, and painstakingly squeegeed out the air, starting from the center outwards. There were still minor imperfections if you looked closely, but the transformation was dramatic! The dull silver was gone, replaced by a sleek, modern matte grey. Over the next few weekends, panel by panel, Somchai wrapped his entire Vios. The process was challenging, sometimes frustrating, but incredibly rewarding. The final result wasn’t showroom perfect, but it looked fantastic from a few feet away, completely changed the car’s personality, and cost him just under 7,500 THB. More importantly, every time he looked at his car, he felt a huge sense of pride and accomplishment.
Decoding Budget Vinyl: What You Need to Know
When you’re wrapping on a budget, understanding the materials is key to avoiding disappointment. Not all vinyl wraps are created equal, and price often reflects quality, durability, and ease of installation. Here’s a basic breakdown focusing on options relevant to DIY beginners in Thailand:
| Feature | Calendered PVC Vinyl (Budget Option) | Cast PVC Vinyl (Higher Quality) | Hybrid / Polymeric Calendered (Mid-Range) |
|---|---|---|---|
| Manufacturing | Melted plastic forced through rollers (like dough). Has some ‘memory’ – wants to return to flat shape. | Liquid plastic poured onto casting sheet, then cured. Very little stress/memory. | Improved calendered process, often with better plasticizers. |
| Conformability (Curves) | Fair to Good. Best on flatter surfaces or simple curves. Can shrink slightly over time, especially on deep recesses. | Excellent. Stretches easily and conforms well to complex curves (mirrors, bumpers) without shrinking back as much. | Good to Very Good. Better than basic calendered on moderate curves. |
| Durability / Lifespan (Thailand Climate) | 1-3 years typical. Intense sun/heat can shorten lifespan, cause faster fading or cracking. | 4-7+ years typical. More resistant to UV damage and temperature fluctuations. | 2-5 years typical. Offers a step up in durability from basic calendered. |
| Ease of Installation (DIY) | Can be less forgiving. More prone to adhesive lines if repositioned too much. Air-release channels are crucial for beginners. | Generally easier to work with, more repositionable, better slideability. Thinner material requires careful handling. Air-release is standard. | Often balances ease of use and performance. Good air-release technology is common. |
| Typical Price Range (Full Small Car Roll – Approx.) | ~4,000 – 8,000 THB | ~12,000 – 25,000+ THB | ~8,000 – 12,000 THB |
| Best For | DIY beginners on a strict budget, temporary colour changes, flatter panels, learning the basics. | Longer-term wraps, complex curves, professional-looking results, those wanting higher quality. Often overkill for a first DIY attempt unless budget allows. | A good compromise for budget-conscious DIYers wanting better durability and conformability than basic calendered without the full cost of cast. |
Key Takeaways for Budget DIYers:
- Air-Release is Non-Negotiable: Look for vinyl specifically advertised with air-release, bubble-free, or micro-channel technology. This feature allows trapped air to escape, making installation *much* easier for beginners.
- Start with Calendered or Hybrid: For your first DIY project on a tight budget, a reputable brand’s calendered or polymeric calendered vinyl is often the most practical choice. It allows you to learn the techniques without the high cost of potentially ruining expensive cast film.
- Manage Expectations: A budget wrap likely won’t last as long as a premium one, especially in Thailand’s harsh climate. Expect 1-3 years of good looks, depending on the specific film, care, and exposure to elements.
- Prioritize Reputable Sellers: Even within budget options, quality varies. Buy from known suppliers in Thailand (online or local shops) who can offer some assurance or have decent customer reviews. Avoid suspiciously cheap, unbranded films.
- Consider Partial Wraps: Can’t afford a full wrap? Wrapping just the roof, bonnet, mirrors, or adding racing stripes can dramatically change your car’s look for a fraction of the cost and material.
From Nervous Beginner to Proud DIYer: Real Voices
Don’t just take our word for it. Here’s what some fellow budget-conscious car enthusiasts in Thailand had to say after taking the DIY plunge:
“I was so nervous spending even 5,000 Baht on vinyl, scared I’d waste it. My first panel looked rough! But I watched more videos, slowed down, and the next one was better. Now my old Honda Jazz looks amazing in satin blue! It’s not perfect, but it’s MINE, and I saved so much money!” – Priya, Bangkok
“My friends laughed when I said I’d wrap my pickup myself. They warned me about cheap film peeling. I researched budget brands carefully, found one with good reviews for Thai weather. Took me three weekends, lots of sweat (and some yelling!), but the matte black finish is holding up well after 8 months. Feeling pretty smug now!” – Anan, Chiang Mai
“Honestly, the best part wasn’t just saving money. It was the feeling of accomplishment. Every time I wash my car, I notice the little spots only I know about, but mostly I just feel proud I learned a new skill and transformed my car with my own hands. Totally worth the effort, even on a budget.” – Meena, Pattaya
Ready to Start Your Own Budget Wrap Journey?
Feeling inspired? Transforming your car’s look on a budget with a DIY wrap is absolutely achievable in Thailand. It takes patience, research, and a willingness to learn, but the rewards – a unique-looking car and the satisfaction of doing it yourself – are immense. You don’t need the most expensive materials or professional skills to make a significant change. Start small, choose your budget vinyl wisely, and embrace the process!
Want to explore affordable vinyl options suitable for beginners, get tips on basic tools, or discuss your project? We’re here to help guide you through the budget DIY wrapping world.
Get in touch or find out more here:
📱 Want to learn more about car wrap & paint protection?
Feel free to reach us on LINE:

🌐 Official Website: https://tpuwraps.com
Frequently Asked Questions (FAQ) for Budget DIY Wrappers
- Q: How difficult is DIY car wrapping for a complete beginner?
- A: It has a moderate learning curve. Expect challenges, especially with curves and edges. Patience, watching tutorials, and maybe starting with a smaller, flatter panel (like the roof or bonnet) is recommended. Meticulous cleaning and preparation are 50% of the job.
- Q: What are the absolute essential tools I need to start on a budget?
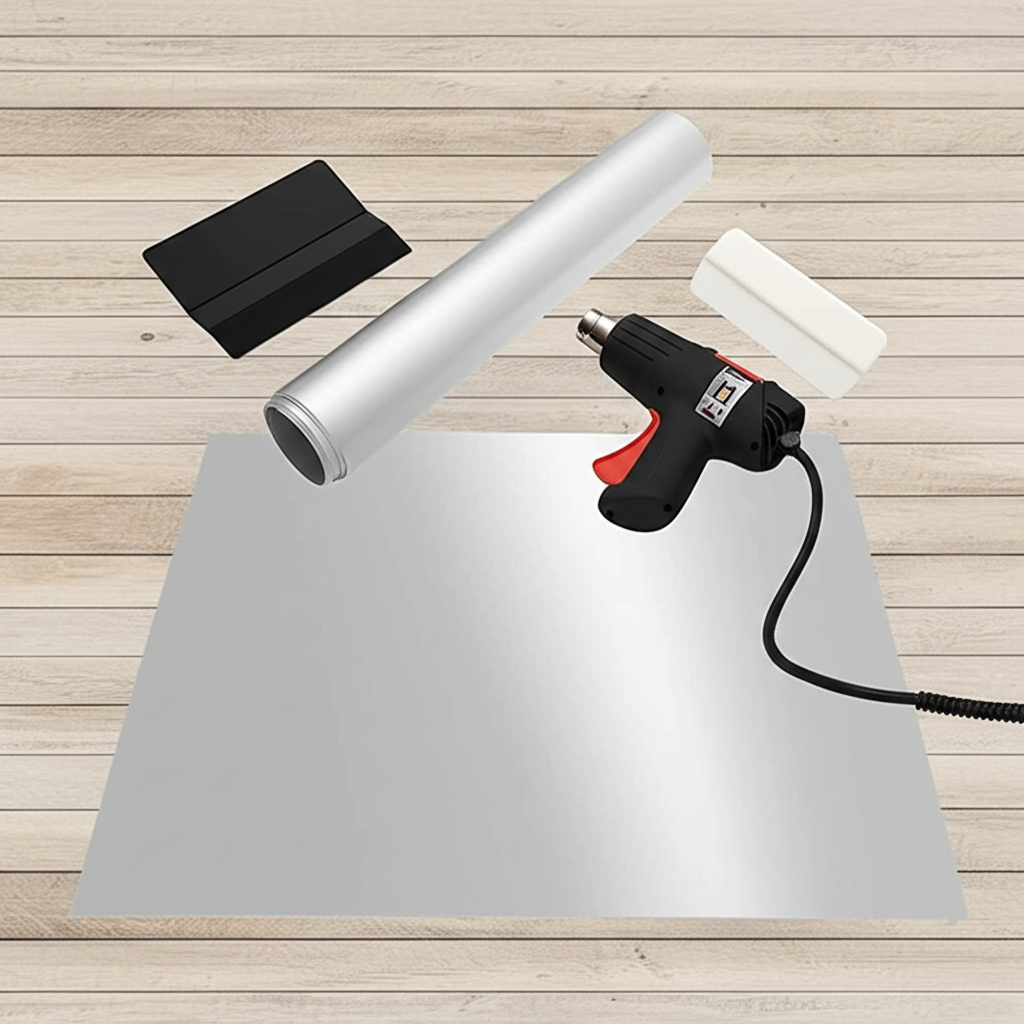
- A: 1. Felt-edge squeegee. 2. Sharp craft knife/scalpel with replacement blades. 3. Measuring tape. 4. Isopropyl alcohol (IPA) for cleaning. 5. Microfiber cloths. 6. A heat gun (even a basic one helps significantly with curves, though some try with a hairdryer initially). Optional but helpful: wrap gloves, knifeless tape.
- Q: How long will a cheap/budget car wrap realistically last in Thailand’s weather?
- A: Expect 1-3 years for most budget (calendered) vinyls. Intense sun, heavy rain, and improper care will shorten its lifespan. Parking in the shade whenever possible helps immensely. Premium (cast) vinyls typically last 4-7+ years but cost significantly more.
- Q: Can I just wrap parts of my car like the roof or bonnet?
- A: Absolutely! A partial wrap (roof, bonnet, mirrors, spoiler, chrome delete, racing stripes) is a fantastic and very popular budget-friendly option. It uses less material, is quicker to install, and can still dramatically change your car’s appearance.
- Q: What happens if I make a mistake? Can I remove the vinyl?
- A: Yes, most car wrap vinyl is designed to be removable. If you’re working and make a mistake (like a large crease or bubble you can’t fix), you can gently lift the vinyl (sometimes applying a little heat helps) and reposition or try again. If you decide to remove the wrap entirely later, gently heating it usually allows it to peel off without damaging the underlying *factory* paint, provided the paint was in good condition to begin with.
Your Car, Your Style, Your Budget
Giving your car a fresh look doesn’t have to drain your savings account. DIY car wrapping offers an exciting, hands-on way for budget-conscious beginners in Thailand to achieve stunning results. By understanding the different types of budget-friendly vinyl, investing in basic tools, and dedicating time and patience to learning the techniques, you can avoid common pitfalls and successfully transform your ride. It’s more than just changing a colour; it’s about expressing yourself, learning a skill, and falling in love with your car all over again – all while keeping your wallet happy. So, are you ready to pick your colour and start your DIY adventure?