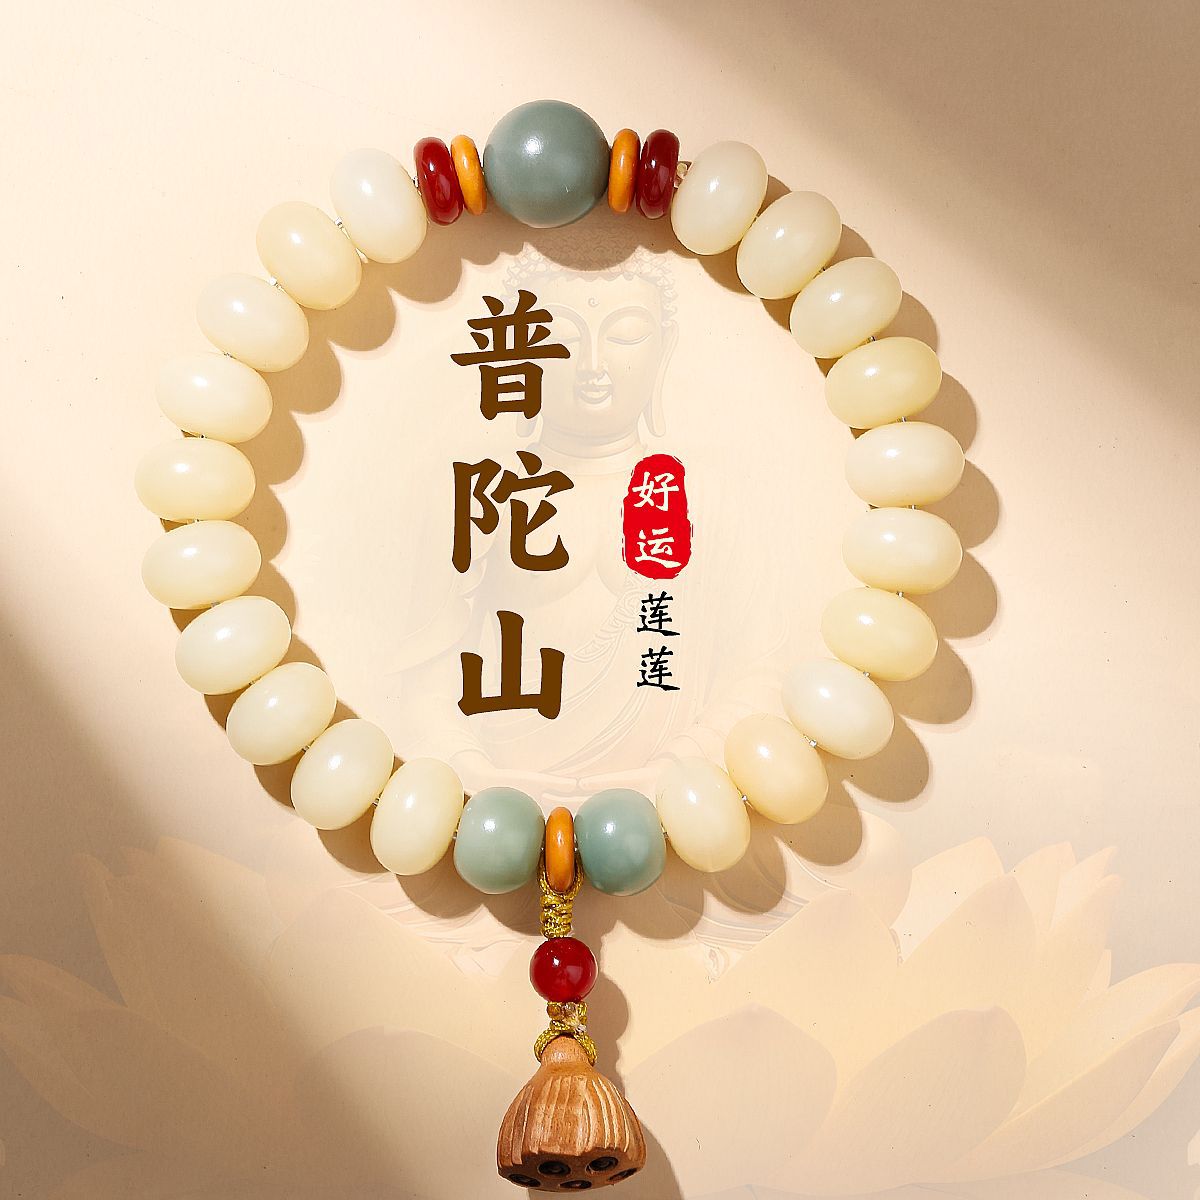
White jade bodhi root bracelet boxwood lotus new Chinese style all-match old material play Buddhist beads
24
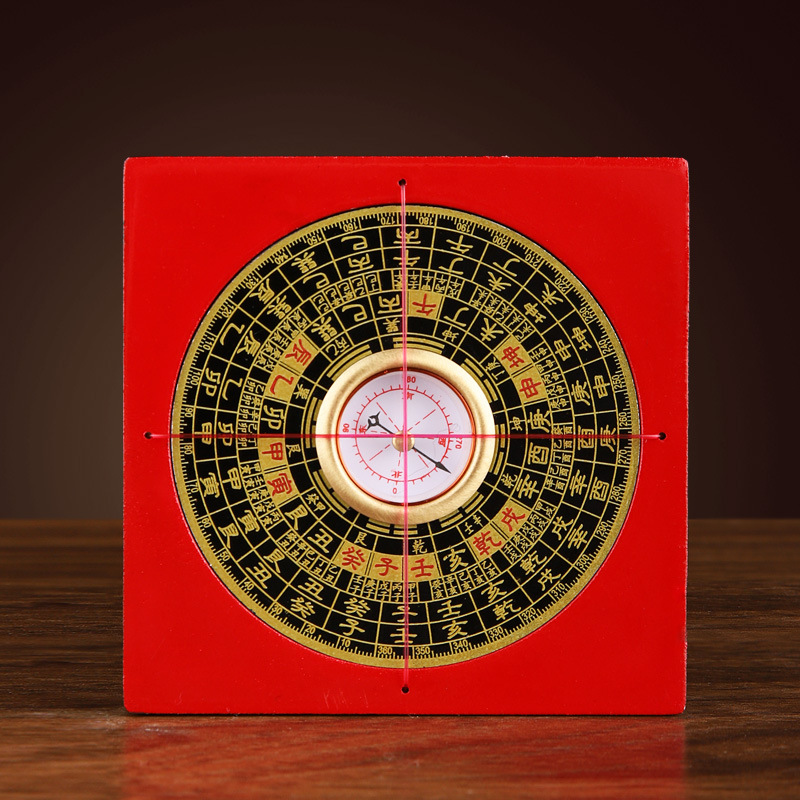
Compass copper compass instrument feng shui supplies eight trigrams luogeng plate
60
Add Product
24
60